](/media/headers/pcb.jpg) Image credit: pixabay
Image credit: pixabay
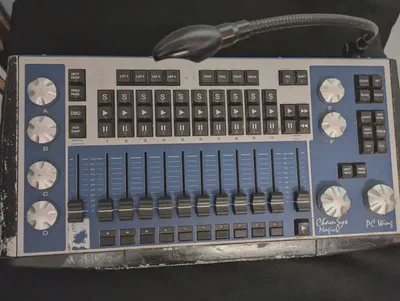
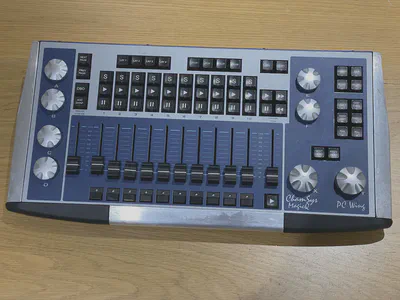
Servicing a Chamsys PC Wing
After months of searching I managed to purchase a used Chamsys PC Wing from eBay at a good price. Described as “owned from new by a nightclub venue” and “cosmetically very poor” it was sold as not working.
Initial tests
Once delivered I checked the Wing and it powered on fine, unlocking MagicQ. No more blackouts during shows 😬! DMX functioned as expected on both outputs, the USB hub was fine and the lamp worked.
A few issues were easy to spot:
- The condition was filthy - every surface was covered in sticky substances that I didn’t want to identify.
- All faders were very unreliable and bouncy.
- The A-F encoders were approaching end of life.
- The REL button did not work at all.
- A foot was missing.
Cleaning and fixing it
Armed with essential supplies including a spray duster, contact cleaner and some spares from Chamsys I set to work.
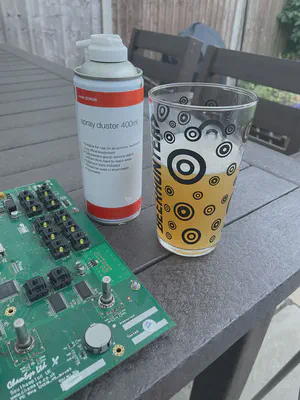
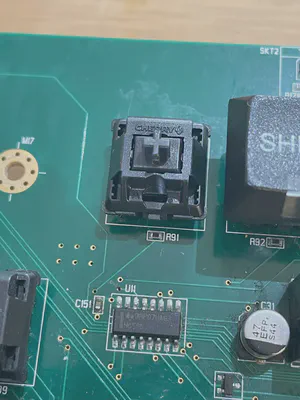
After opening the Wing I found the dirtiest PCB I have ever worked on. Every surface at the bottom was coated in tobacco - enough to roll a few cigarettes. All screws were rusted and most screw heads had been stripped.
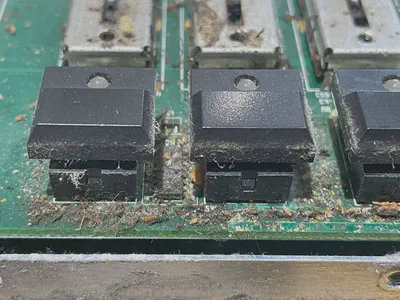
With a few hours of work and plenty of IPA1 the insides were much cleaner. I cleaned the faders with both IPA (on a cotton bud) and spray contact cleaner. Stray pieces of tobacco were removed with tweezers.
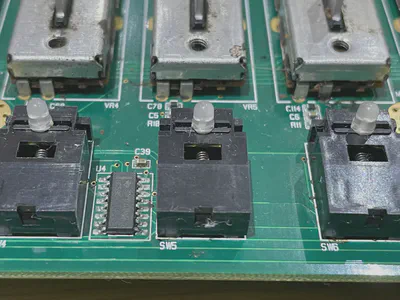
Replacing the button was slightly trickier as the LED needs to be removed first. Anybody considering this sort of repair should watch this YouTube video from Mr SolderFix - the technique with copper wire is far more effective than any other I have tried. Fixing the button took around five minutes, with additional cleaning to remove flux.
Finally all buttons were soaked in fairy liquid and thoroughly scrubbed. Most internal and external screws were replaced with new ones2. The rubberised paint on the aluminium extrusions was failing so I used a chemical paint stripper to remove it completely. The final result looks good, but I may respray these black again in future.
Everything is now green in the board test, though as noted above some of the encoders aren’t as smooth as would be expected.
There are a few other things to fix including inconsistent LEDs and replacement of the encoders. But for now the Wing is beginning a one week tour for a kids holiday club. It is so much nicer having physical faders, and no risk of hitting the MagicDMX Basic timeout!
Footnote
I have fixed and serviced a number of similar devices to the PC Wing. My initial impression is the Wing is made to a high standard, with a solid shell and decent components including Cherry keys and a Meanwell power supply. It’s nice to see the name of the designer on the PCB - George McDuff is one of the original founders of ChamSys.

David Cannings
Cyber Security
My interests include computer security, digital electronics and writing tools to help analysis of cyber attacks.